Copy, Cut and Paste
Copy, cut and paste allows you to copy and/or move text within a document, between documents or between Microsoft Office products.
There are ways of doing it using the buttons on the ribbon, shortcut keys, drag and drop and the shortcut menu.
The basic principle is:
•
Define what needs to be copied or moved.
•
Go to where it needs to go.
•
Transfer the text there.
Copy and paste will leave the original in it’s place and insert a copy of the data in the paste position.
Cut and paste will remove the text from the original position and move it to the new position
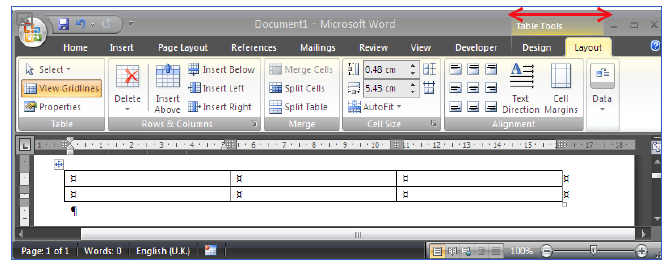
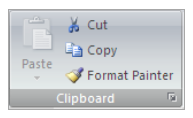
The buttons
On the home ribbon, in the clipboard group you have the copy, cut and paste.
To copy the text:
1.
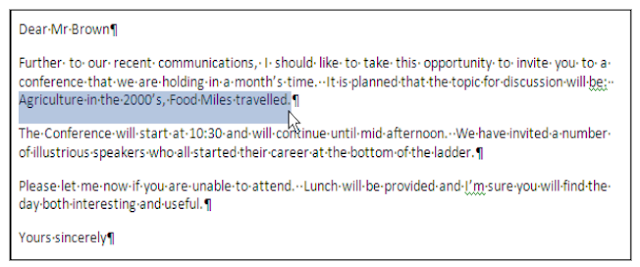
Select Text to be copied.
2.
Click on the copy button
3.
Position cursor to where the text is to be copied to.
4.
Click on paste

To move text: the instructions are very similar to copy except that Cut is command used instead of Copy.
Shortcut Keys
The shortcut keys to carry out copy, cut and paste procedures are
Ctrl-C : Copies selected text
Ctrl X : Removes the text from the original
Ctrl-V : Pastes the data at the selected position.
Drag and Drop
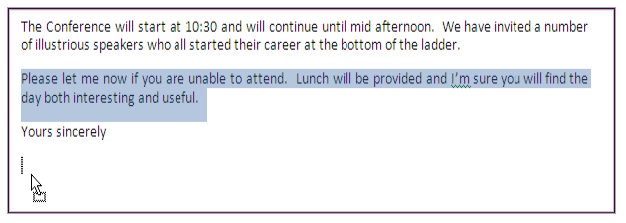
The default action with Drag and drop is a move.
To carry out a drag and drop
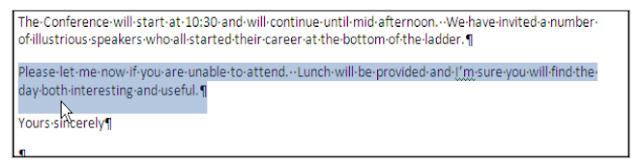
1. Highlight the text to be moved
2.
Position the cursor over the highlighted text, the mouse pointer should display as a white arrow.
3.
Drag cursor to position where text is to be moved to and let go of the button.
To carry out a copy using the drag and drop method
1.
Highlight the text to be copy
2.
Position the cursor over the highlighted text, the mouse pointer should display as a white arrow.
3.
Drag cursor to position where text is to be copied to and let go of the button.
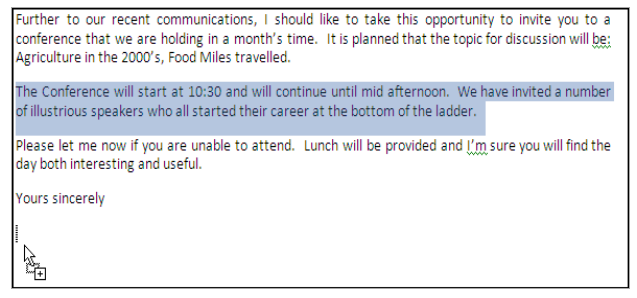
Notice on the mouse pointer symbol that on the copy there is a plus sign.
Short cut menu
The most common functions can be done by using the shortcut menu. The shortcut menu brings together the commands from all the different ribbons that are appropriate for the highlighted item at which the menu is called.
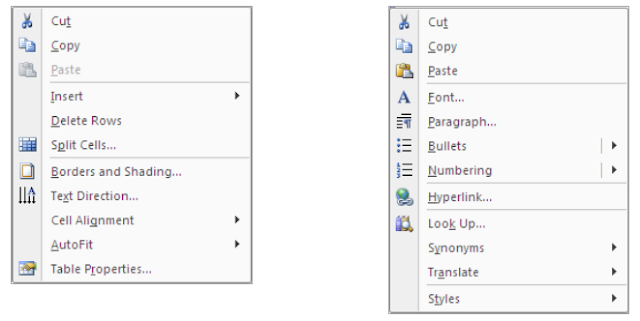
The shortcut menu is called by clicking on the secondary mouse button (normally the right hand mouse button).
1.
Select the text to be copied or moved
2.
Call up the shortcut menu
3.
Select Copy or cut
4.
Move cursor to text is to be placed
5.
Call up the shortcut menu
6.
Select paste
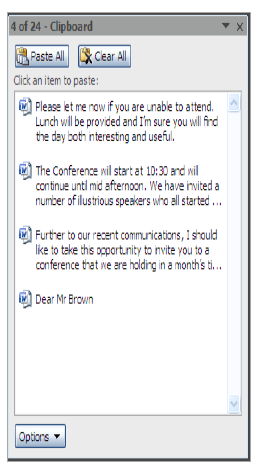
The Clipboard
In general one item is copied or cut and then that item is pasted at the required place. But sometimes if the document needs to be rearranged then the clipboard can be used to temporarily store several copied or cut items that can then be pasted in different orders.
The clipboard can be activated by clicking on the launcher for the clipboard.
The text that is then copied or cut is added on to the clipboard as individual clips.
Each of the clips can then be pasted back in any order required by using the shortcut menus.
The clipboard can also be started by carrying out two copies without doing a paste in between.
If the clipboard is not required then it can be turned off by using the close button in the top right hand corner.
Paste Special
When text is pasted into a document, then the default options are selected automatically. If other options are required then paste special can be used by clicking on the arrow below the button.
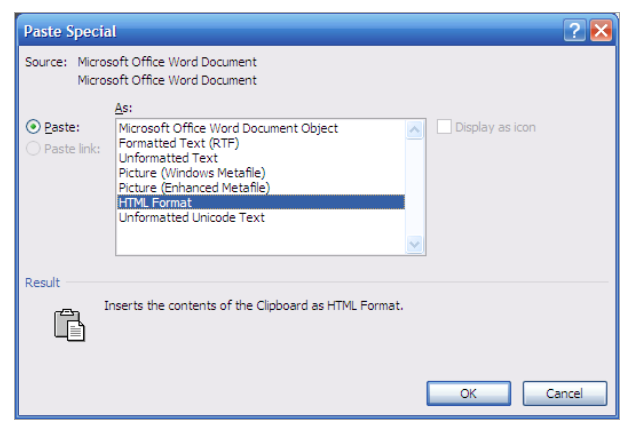
This brings up the paste special dialog box and the appropriate option can be selected.
In certain situations the data can be linked, so if the source data changes this will automatically change the data that has been pasted – this is usually used when data is pasted from Excel.