Setting Proofing Options
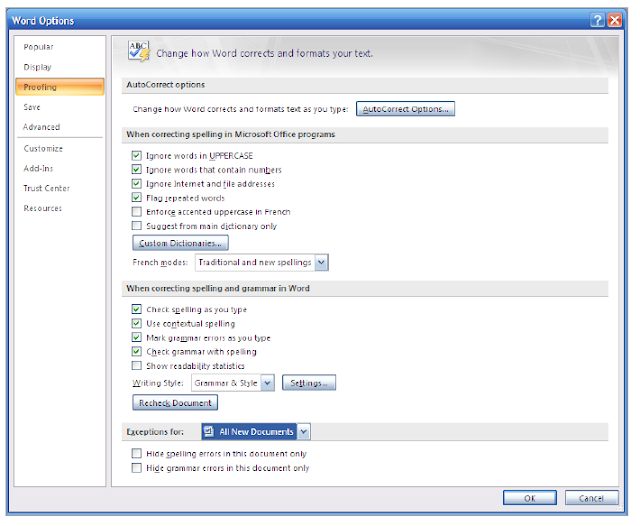
1. Activate the Office Button
2. Click on Word Options at the bottom
3. Select Proofing on the left hand side
4. Change settings as required.

Spelling and Grammar
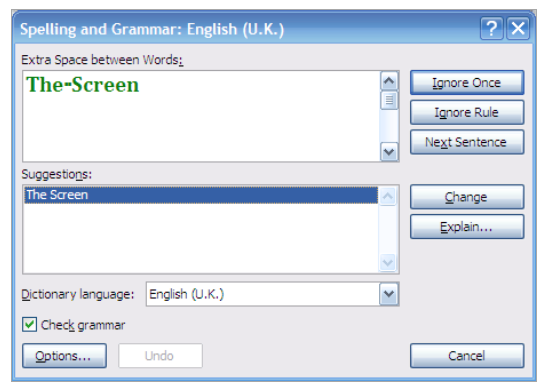
Using the default proofing settings, spelling mistakes are marked with a red wavy line and grammar errors are marked with a green wavy line.To correct or to accept these mistakes
1. Highlight document
2. Go to the Review ribbon, Proofing group
3. Click on Spelling & Grammar

This start the checker. Depending on the level set in the proofing options it will stop at every mistake whether a grammar or a spelling mistake.
Certain rules can be chosen to be ignored either once or all together. Normally the checker will come up with an alternative that can be changed to. If you wish the mistake can be edited manually.
The grammar checking can be turned off altogether by un-checking the tick box in the bottom left hand side of the dialog box.

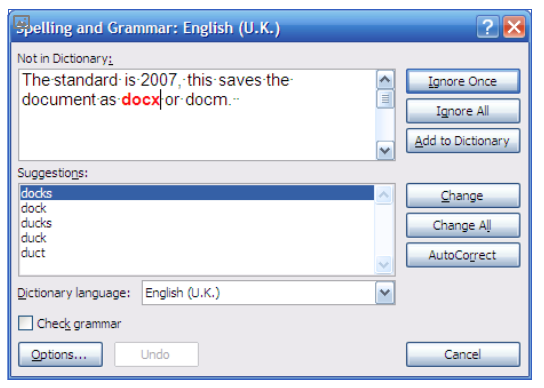
With spelling mistakes, there are a list of suggestions for you to choose from. Check the suggestions before changing.
(Check out the suggestion here!)
If necessary words can be added to the Dictionary. This is very useful where technical terms that are not normally included in the dictionary can be added for which ever field of business you work in.
If an error has been made consistently then the error can be corrected in one go by selected Change All.

No comments:
Post a Comment