What are Columns?
When we type in a new document the text will my default be in a single column which extends between the left and right margin.Depending on the format of the document that you wish to create, there are various different column options available.
It is often easier to create your document then to apply the required columns.
Creating Columns.
1. Click into the document.
2. Select the Page Layout tab from the ribbon.

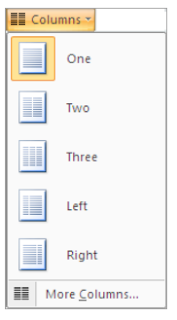
3. Select the group Page Setup → Columns icon.

Select the required column layout.
Applying Column Setting.
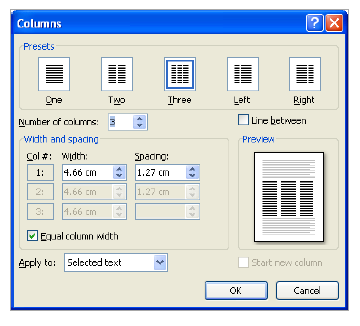
To specify the exact column widths, reduce / increase the amount of columns.1. Select the group Page Setup → Columns Icon → More Columns.
Select the required modifications.

Note: If the equal column width is selected equal column widths will be applied. De-select the trick from this option to specify various column widths per column.
Balancing Column Text.
Word fills one column before filling the next column, the document may end up with an uneven bottom edge.
It is possible to even out the columns by inserting a continuous section break at the end of the document edge.
Depending on how uneven the columns are it is possible to even them out by inserting a continuous section break at the end of the document.
Balancing the column text.
1. Position your cursor at the bottom of the document.
2. Select the Page layout tab → Page setup group → Breaks → Continuous.

Inserting Column Breaks.
When the document has multiple columns you may wish to force the text from one column to the next column.1. Position the insertion point where you wish to apply the break.
2. Select the Page layout tab → Page setup group → Breaks → Column.
Deleting Column Breaks.
If you wish to remove a column break, this can be done with ease. Display the paragraph marks, click on the required column break you wish to delete and press delete on the keyboard.
1. Select the Home tab → paragraph group → Show / Hide icon.
2. Select the desired column break you wish to delete.
3. Press Delete.


No comments:
Post a Comment